TIPS
- Easy opening : Place the appliance in a vertical position perpendicular to your position so that the evaporator assembly with the control switches is at the bottom. Step on the wheel of the ironing system with your right foot. With your left hand, grasp the metal crossbar of the other support leg at the top of the system. Grasp the top of the ironing surface with your right hand. Open at the same time – pull both parts of the system apart until it locks to the desired height setting. Place the appliance on the floor so that both support legs are on the floor. The procedure described applies to right-handers.
- Easy folding : Position yourself in front of the left half of the open ironing system so that the evaporator assembly with the control switches is on your right. Step on the wheel of the ironing system with your right foot. With your left hand, firmly grasp the top of the ironing surface of the system on your left side. Release the lever at the same time with your right hand (push it towards the ironing board) to adjust the height settings of the system, located under the ironing board in the middle of it at its edge. Close the ironing system slowly, place it in a vertical position and squeeze the top of the ironing board of the system and the support leg together so that they snap together. The procedure described applies to right-handers
- If you decide to use distilled water (which is not necessary because the heating element of the evaporator assembly is not in direct contact with water…), always check whether the chemical composition of the water is suitable for ironing, which must be stated on the packaging.
- NEVER add ANY ADDITIVES or FRAGRANCES into the evaporator kettle, as their use in combination with high temperatures has a strong negative impact on the electrical components of the evaporator assembly, which causes the appliance to stop working.
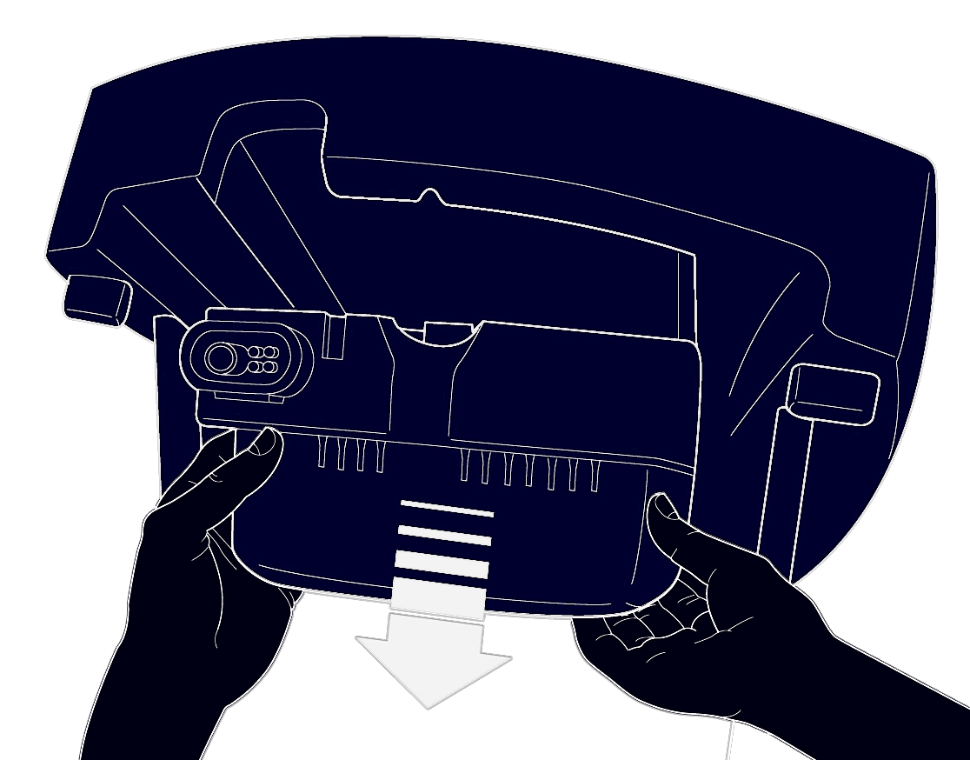
- In case the Service Center, based on the description of the fault, estimates that a fault is possible in system’s evaporator assembly, you don’t need to send to the service the complete system but only the evaporator assembly, which you remove by unscrewing four screws on system’s bottom side and than pulling out.

- Quick ironing of shirt sleeve : place the iron inside the sleeve along the shoulder area with the steam outlets facing the inside of the sleeve and squeeze the cuffs together on the other side of the sleeve to prevent steam from escaping. The 3.5 Bar steam release allows the inside of the sleeve to inflate with steam and smooth out the creases on the sleeve.
- Relaxed iron storage : It is not necessary to place the iron on the support pad, but you can also place it on the back of the ironing cover, marked “PARK”, the composition of which is resistant to very high temperatures.


